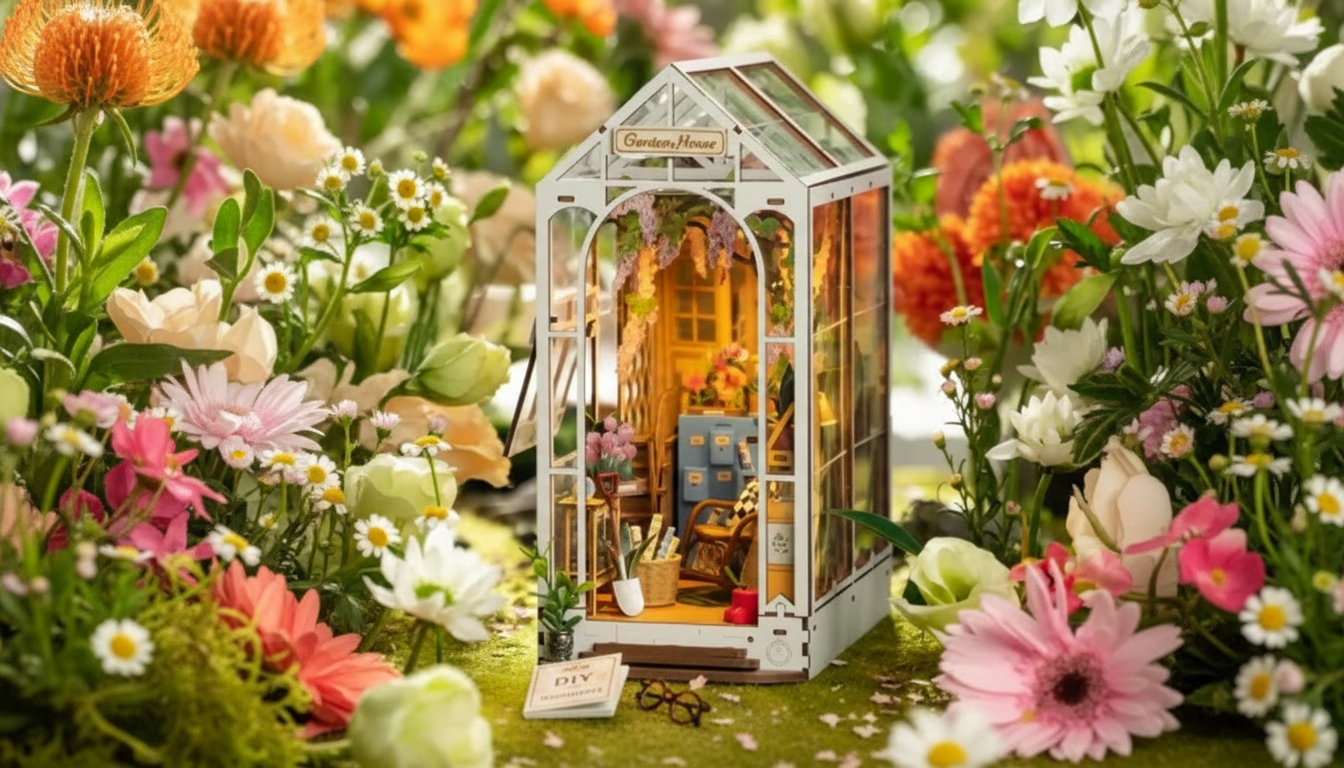
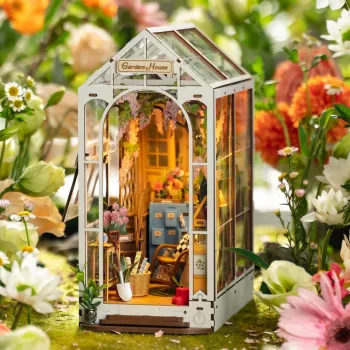
Turn a slice of greenhouse charm into a shelf-sized scene with a buildable book nook that fits neatly between novels. This kit is designed for relaxing, detail-focused crafting—layered pieces, cozy “garden house” styling, and optional lighting for a warm glow once it’s placed on a bookcase or desk. If you love miniatures, quiet evenings, and décor that makes guests lean in for a closer look, a garden house-style book nook delivers that “peek into another world” feeling without taking over your tabletop.
| Feature | What to expect | Why it matters |
|---|---|---|
| Build type | DIY miniature book nook scene | Offers a hands-on craft experience and a finished display piece |
| Typical build time | Several hours to a weekend (varies by pace) | Helps plan a relaxed, step-by-step session |
| Skill level | Beginner-friendly with patience; easier with prior model-kit experience | Fine details reward careful alignment and dry-fitting |
| Display | Bookshelf insert or tabletop décor | Works as bookend-style ambiance for reading spaces |
| Lighting | Often includes or supports LED-style lighting (check box contents) | Adds depth, warmth, and nighttime visual impact |
Kit contents typically include pre-cut components for the structure and scene details, though exact items can vary by production batch. Some versions include clear window panels and lighting components; others support lighting as an add-on. For the smoothest build, a few basic tools make a noticeable difference.
For adhesive handling and general crafting safety, it’s worth reviewing guidance from the U.S. Consumer Product Safety Commission and the safety documentation for any glue you use (for example, E6000 SDS resources). If you’re deciding between glue types, a woodworking-oriented overview like Wood Magazine’s guide to choosing glue can help clarify when PVA/wood glue is the best pick.
A simple habit that pays off: keep a scrap piece of cardboard nearby as a “glue palette.” Put a tiny dot of glue down, then pick it up with a toothpick for controlled application—especially around window frames and trim.
When something feels slightly off during assembly, pause and dry-fit again. A 30-second check often prevents the kind of misalignment that’s hard to “un-glue” later.
Most builds take several hours to a full weekend, depending on your pace and comfort with small parts. Dry-fitting, glue curing time, and careful décor placement usually add time but improve the final look.
PVA/wood glue, tweezers, a hobby knife, small scissors, a ruler, masking tape, and a cutting mat are commonly useful. Good lighting and using tiny amounts of glue make detailed steps much easier and cleaner.
It’s best to test and route lighting during assembly so wires and access points stay neat. Installing lighting afterward may require reopening panels or working through small openings, depending on the design.


Leave a comment