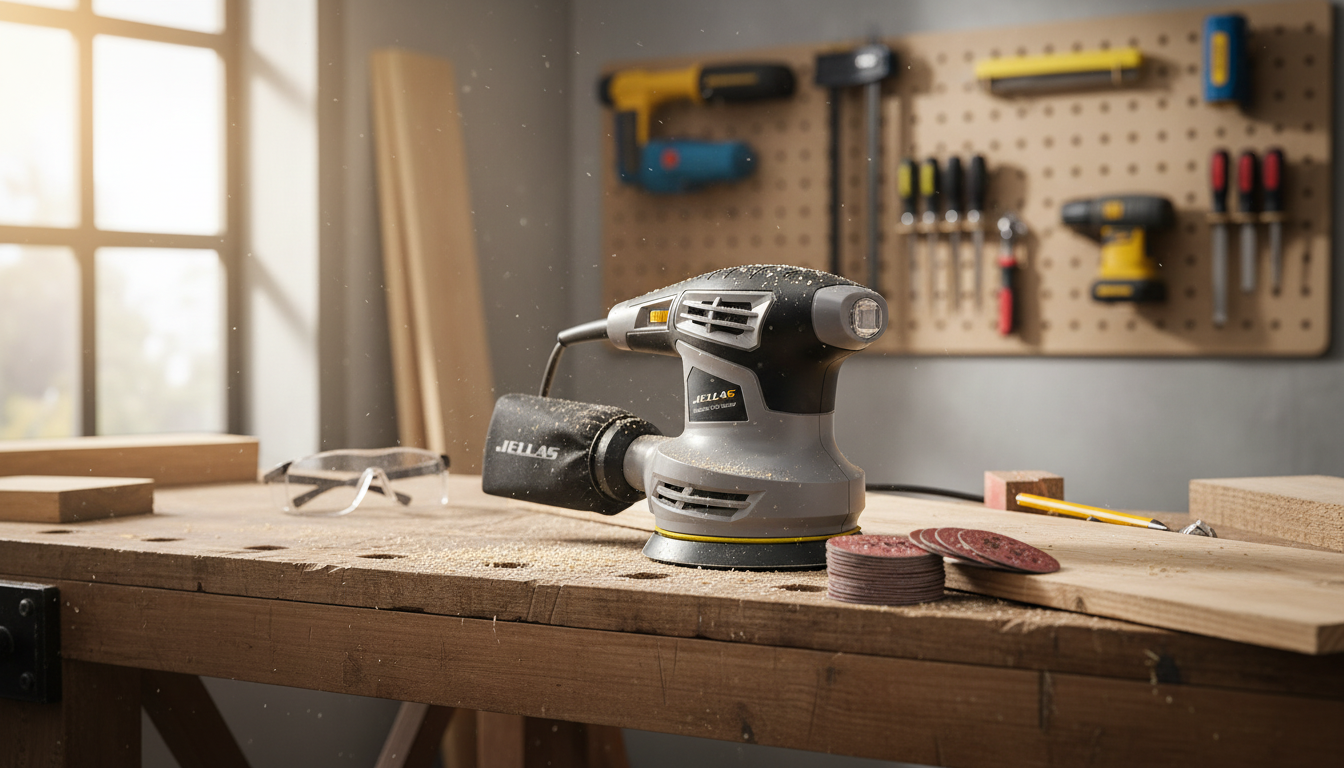
5-Inch Orbital Sander with 18 Sandpaper Discs and Dust Collection for Woodworking
A 5-inch random orbital sander is a go-to tool for smoothing boards, leveling finishes, and prepping surfaces for paint or stain. This model pairs a compact 5-inch pad with a set of 18 sanding discs and a built-in dust collection setup to help keep the workspace cleaner while improving finish quality on wood, furniture parts, and DIY projects.
What This Sander Is Best For
A 5-inch orbital sander hits the sweet spot for control and coverage, making it a reliable pick for common woodworking tasks where consistent scratch patterns matter.
- Surface prep on raw lumber: removes milling marks and blends uneven spots before finishing.
- Refinishing furniture: feathers edges, smooths old finish, and prepares for new stain or paint.
- Between-coat sanding: lightly scuffs varnish, polyurethane, or paint for better adhesion (using fine grits).
- Edge and corner blending: more controlled than a belt sander, with reduced risk of gouging.
- Workshop and home projects: shelving, trim touch-ups, small tabletops, and craft builds.
What’s Included and Why It Matters
- 5-inch sanding pad: a common size with wide sandpaper availability and a good balance of coverage and control.
- 18 sandpaper discs: supports stepping through grits instead of overworking a single disc.
- Dust collection: helps reduce airborne dust and keeps abrasive from clogging as quickly.
- Quick disc changes: hook-and-loop style pads (typical for this category) make grit changes faster during multi-step sanding.
Quick Start Checklist for Better Results
| Step |
What to do |
Why it helps |
| Pick the right grit |
Start coarse only if needed, then move finer |
Prevents deep swirl marks and saves time |
| Keep it flat |
Let the pad sit level; don’t tip onto an edge |
Avoids gouges and uneven low spots |
| Light pressure |
Guide the tool rather than pressing down |
Improves finish and reduces pigtails/swirls |
| Slow, overlapping passes |
Work in sections with 50% overlap |
Creates consistent scratch pattern |
| Manage dust |
Empty/clean dust container and keep holes clear |
Maintains airflow and sanding efficiency |
Using Dust Collection Effectively
Dust collection isn’t just about cleanliness—better airflow can improve cutting consistency and help limit random deep scratches caused by trapped debris.
- Keep dust ports and collection paths clear: clogged pathways reduce suction and can increase swirl marks.
- Match sanding discs to the pad’s dust holes when possible: aligned holes improve airflow.
- Clean discs as needed: light tapping or a gentle brush can extend disc life when sanding resinous woods.
- Protect the workspace: even with dust collection, consider a shop vacuum nearby and cover sensitive items.
- Health considerations: fine wood dust can irritate lungs and eyes; basic PPE (mask/respirator and eye protection) improves comfort during longer sessions.
For additional workplace guidance on wood-dust exposure and controls, review resources from OSHA and NIOSH.
Choosing the Right Sandpaper Grits for Woodworking
Good sanding is usually about doing the least aggressive work that still gets results—then refining the surface step-by-step so the next grit removes the previous scratch pattern efficiently.
- Coarse (60–80 grit): leveling uneven surfaces, removing heavy tool marks, stripping finish (use carefully).
- Medium (100–120 grit): general smoothing and shaping; often the main “workhorse” stage.
- Fine (150–180 grit): pre-finish sanding for many hardwoods; reduces visible scratches.
- Very fine (220+ grit): between coats or for certain finishes; avoid going too fine too early on some woods to prevent uneven stain absorption.
- Rule of thumb: move up gradually (don’t jump too many grits) to remove the previous scratch pattern efficiently.
Common Grit Progressions (Examples)
| Project goal |
Suggested progression |
Notes |
| Raw wood to finish-ready |
80 → 120 → 180 |
Start at 80 only if the surface needs leveling |
| Furniture refinish (light leveling) |
100 → 150 → 220 |
Test a small area to confirm scratch visibility |
| Between coats |
220 → 320 |
Use light pressure and minimal passes |
Tips to Reduce Swirl Marks and Uneven Sanding
- Start and stop cleanly: let the sander reach full speed before contacting the surface; lift off before powering down.
- Keep moving: avoid staying in one spot; use a steady pace to prevent heat buildup and over-sanding.
- Swap discs when cutting slows: dull abrasive increases heat and can burnish wood instead of cutting it cleanly.
- Finish with the grain when possible: even with random orbital action, final passes aligned with grain can make scratches less noticeable.
- Check under raking light: a low-angle light reveals scratches and swirl marks before finish makes them permanent.
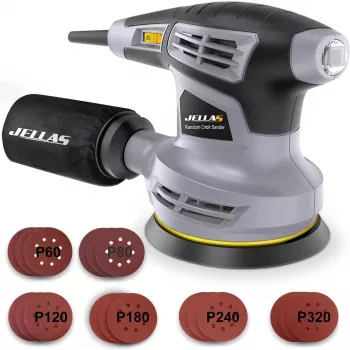
Product Option: 5-Inch Orbital Sander with 18 Sandpapers and Dust Collection
5-Inch Orbital Sander with 18Pcs Sandpapers & Dust Collection for Woodworking
At-a-Glance
Care, Storage, and Disc Life
More In-Stock Picks
FAQ
What grit should be used first on unfinished wood?
Start with the least aggressive grit that still removes defects, often 80–120 grit depending on how rough the surface is. Then step up gradually (for example, 120 to 180) so each stage removes the previous scratch pattern.
Why does an orbital sander leave swirl marks?
Swirl marks typically come from too much pressure, worn or clogged discs, lingering in one area, poor dust extraction, or skipping grit steps. Light pressure, clean abrasives, and slow overlapping passes usually reduce the problem quickly.
Does dust collection replace wearing a mask while sanding?
No—dust collection reduces airborne dust but doesn’t eliminate the finest particles. Eye protection and a properly fitted mask or respirator are still recommended, especially for longer sanding sessions.
Recommended for you


Leave a comment